 Knitting
socks always seemed like a difficult and daunting task, but one day I came
across a pattern requiring only two normal knitting needles so I gave it a
go. Shepherd 489 for those who like to go looking for the
patterns - your local shop might have it or order it in for you. I tried to find a website for Shepherd but couldn't.
Knitting
socks always seemed like a difficult and daunting task, but one day I came
across a pattern requiring only two normal knitting needles so I gave it a
go. Shepherd 489 for those who like to go looking for the
patterns - your local shop might have it or order it in for you. I tried to find a website for Shepherd but couldn't.
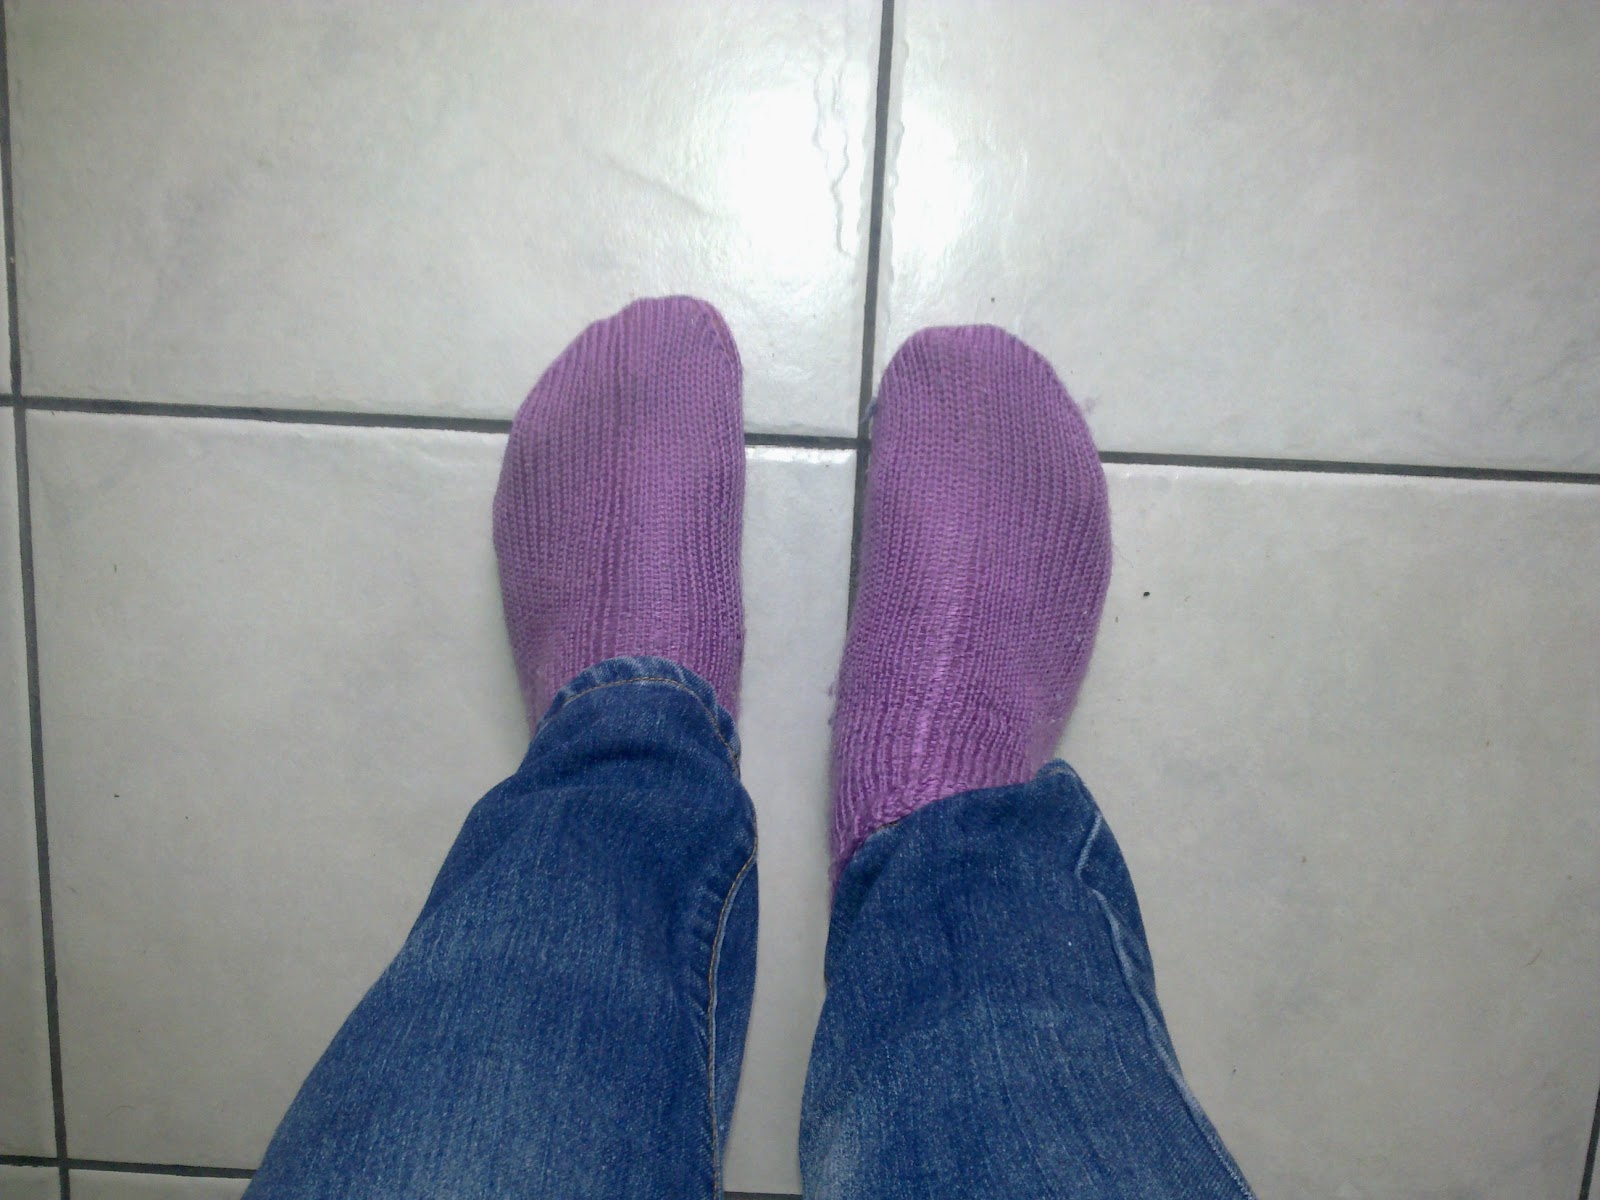
The
socks in this pattern are more stockings for gumboots and that quickly became
apparent, so I shortened them somewhat and shortened the length of the
foot. They’re still huge on me and I
only really use them when I need a second pair of socks over the top of another
pair. I’ve adapted the pattern to suit
me - here’s my version.
The
abbreviations I use in my patterns are:
K
- knit, P - purl, sl - slip, st(s) - stitch(es), psso - pass slipped stitch
over, stst - stocking stitch, Rep - Repeat, tog - together
Two
needle sock pattern
3mm
needles (English size 11)
2
50g balls 4ply wool
2
Stitch holders
Using
3mm needles, cast on 60 st and work in k2, p2, rib for 5cm.
Change
to stst (1 row k, 1 row p) starting with a k row and continue until work is
approx 5cm shorter than you want the finished height up your leg.
Divide for Heel and Instep
With
right side facing, slip first 15 sts onto a stitch holder, rejoin yarn and k
next 30 sts, turn, leaving remaining sts on a stitch holder. Work in stst until approx 5cm shorter than
your foot from top of ankle bones.
Shape Toe
*1st
row: K2, sl 1, k1, psso, k to last 4 sts, k2 tog, k2.
2nd
row: P.
Rep
the last 2 rows until 10 sts remain, ending with a purl row. *
Break
yarn and leave sts on a stitch holder.
Return
to heel sts and slip both sets of 15 sts on to one needle with outside edges to
centre (30 sts).
With
right side of work facing, rejoin yarn to sts for heel and work 30 rows in
stst, starting with a k row.
Next
row: K18, sl 1, k1, psso, turn.
Next
row: P7, p2 tog, turn.
Next
row: K8, sl 1, k1, psso, turn.
Next
row: P9, p2 tog, turn.
Continue
shaping in this way until all sts are worked onto one needle (18 sts). Break yarn.
With
right side of work facing, pick up and k 15 sts down first side of heel, k
across 18 sts of heel, then pick up and k 15 sts up second side of heel. (48
sts).
Next
row: Purl.
Next
row: K2, sl 1, k1, psso, k to last 4 sts, k2 tog, k2.
Rep
last 2 rows until 30 sts remain. Work in
stst until approx 5cm shorter than your foot.
Shape Toe
Follow
instructions for instep from * to *.
Graft
toe sts together or cast off the 2 sets of sts together.
Make Up
Using
a flat stitch, join centre back seam.
Join side seams.
When
I do the pick up sts around the heel, I find it a lot easier to use my double
pointed sock needles. There isn’t the
strain of stitches going around corners that makes the first few rows a bit
difficult. I also have a sneaking
suspicion that 30 rows from the rejoin to the heel shaping is too many, but as
I haven’t used this pattern in a while, I don’t remember how I did it. I’ve been using the second pattern that I’m
going to give you mostly because I hate sewing seams in my knitting.
Circular
Sock Pattern
 Using
3mm sock needles (double pointed) cast on 60 sts. Distribute around needles. (I like to have
the start and finish in the middle of one needle - I also make this one half of
the total as it makes working out the heel sts much easier).
Using
3mm sock needles (double pointed) cast on 60 sts. Distribute around needles. (I like to have
the start and finish in the middle of one needle - I also make this one half of
the total as it makes working out the heel sts much easier).
Work
k1, p1 rib for at least 3cm.
Change
to plain knit and work until sock measures approx 4cm shorter than desired
length up leg.
Work
around until at the beginning of needle with 30 heel sts.
Shape Heel
K
30, turn.
Sl
1, p28, turn.
Sl
1, k27, turn.
Sl
1, p28, turn.
Continue
in this manner until the centre 10 sts have just been purled, turn.
K
11, turn.
P
11, pick up a st in between work and next slipped st, p2 tog, turn.
K
12, pick up a st in between work and next slipped st, k2 tog, turn.
P
13, pick up a st in between work and next slipped st, p2 tog, turn.
Continue
in this manner until all sts are live again, finish on a k row.
Shape Instep
Next
Round: Pick up 4 sts between heel and start of sts on next needle, k to end of
needle. K to end of next needle, pick up
4 sts. K across heel.
Next
Round: K
Next
round: K
Next
round: K2, sl 1, k1, psso, k to end of needle.
K to last 4 sts on next needle, k2 tog, k2. K across heel.
Continue
in this manner, reducing every 3rd row until back to original 60 sts on all
needles.
Work
straight until sock is approx 4cm shorter than foot finishing at start of
needle with heel on it.
Shape Toe
 |
| Toe Shaping In Progress |
Next
round: K2, sl 1, k1, psso, k to last 4 sts, k2 tog, k2. Next needle, K2, sl 1, k1, psso, k to end of
needle. Next needle, k to last 4 sts, k2
tog, k2.
Next
round:
Rep
these two rows until 20 sts total remain.
Graft
toe sts together or cast off the 2 sets of sts together.
Make Up
Sew
up toe, depending on how you’ve finished it, and sew in start tail to even up
top of sock.
The
heel shaping - picking up a st in between work and slipped sts prevents many of
the holes that you often get with this kind of shaping. I found it in a wonderful book Anticraft:
Knitting Beading and Stitching For The Slightly Sinister by Renee Rigdon and
Zabet Stewart. They also have a great website
filled with some interesting projects.
When
I’m knitting socks, I like to use stripes so that I don’t have to constantly
measure the second sock to match. It’s a
simple thing to see that there are so many stripes in each colour and do my
shapings etc to match the first.
Different coloured stripes can be a good way to use up those little bits
of yarn left over from other projects.
Or if you’ve made similar socks for several people, give them each their
own colour and make at least one stripe on each pair in that colour so they can
easily tell whose is whose and there aren’t arguments about who is stealing
socks. (Can you tell I’ve got children?)
I’ve
learned that not all yarns are good for socks.
I was given a lovely fluffy wool that makes wonderfully warm socks, but
after wearing them only a few times, I started to get balls of felted fluff
under my toes inside the socks and holes formed shortly after. This yarn is NOT good for socks. I’ve tried making the toes and heels in
something more durable and that is working so far, but I haven’t had those
socks for too long. They’ve lasted
longer than the first pair however.
You’d think that nylons or acrylics would be more durable and hardy, but
that doesn’t seem to be necessarily true either.
Since I wrote this, I discovered Sock Yarn. It's a blend of wool and acrylic that makes them far more durable.
Since I wrote this, I discovered Sock Yarn. It's a blend of wool and acrylic that makes them far more durable.
No comments:
Post a Comment